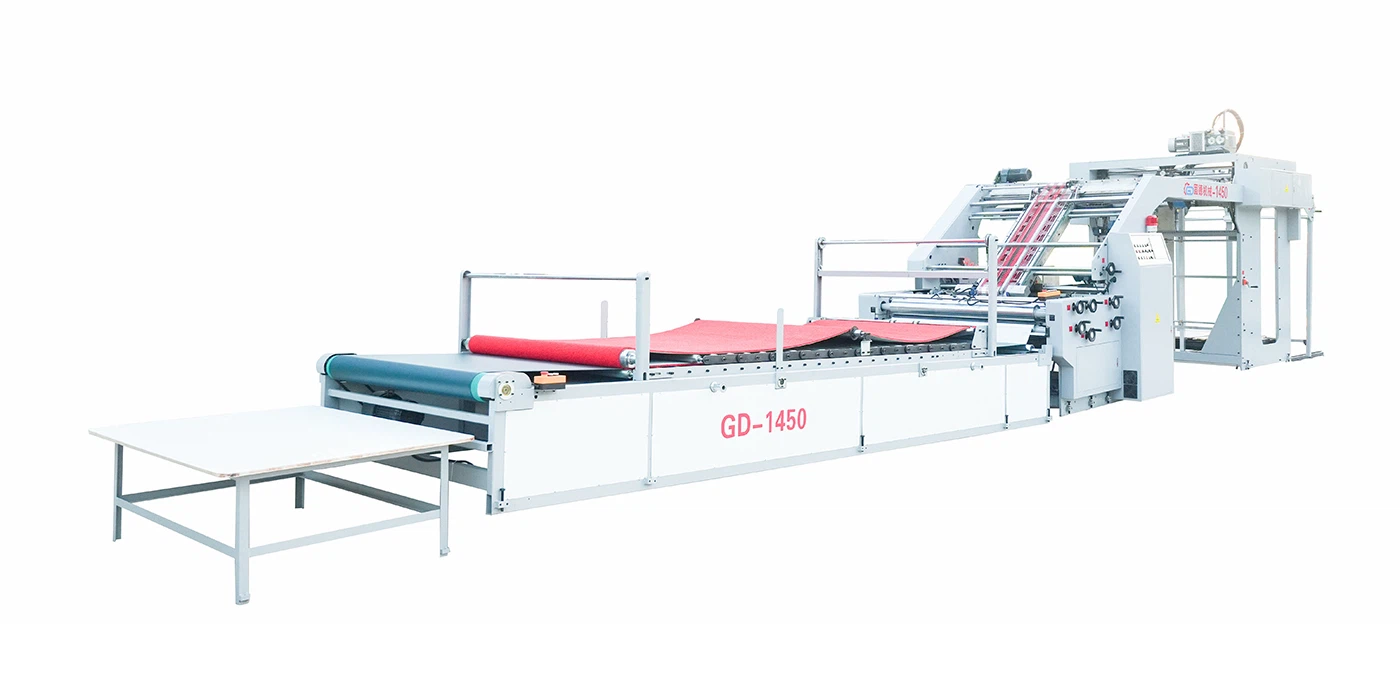
Hey there! I'm a supplier of Semi Automatic Flute Laminators. Today, I'm gonna share with you how to adjust the position of the laminating rollers in a semi automatic flute laminator. This is a crucial step to ensure the quality of your laminating work, so let's dive right in!
Why Adjusting Roller Position Matters
First off, you might be wondering why it's so important to adjust the laminating rollers. Well, the position of these rollers directly affects the pressure distribution and alignment during the laminating process. If the rollers aren't properly positioned, you could end up with uneven lamination, air bubbles, or even misaligned layers. This can lead to a lot of wasted materials and time, not to mention a decrease in the overall quality of your products.
Tools You'll Need
Before you start adjusting the rollers, you'll need a few tools. These include a set of wrenches, a feeler gauge, and a straightedge. The wrenches will be used to loosen and tighten the bolts that hold the rollers in place. The feeler gauge is used to measure the gap between the rollers, and the straightedge helps you check if the rollers are aligned properly.

Step-by-Step Guide to Adjusting Roller Position
Step 1: Preparation
- First, make sure the laminator is turned off and unplugged. Safety first, right? You don't want any accidental starts while you're working on the machine.
- Clean the rollers thoroughly to remove any dust, debris, or adhesive residue. This will ensure accurate measurements and smooth operation.
Step 2: Check Roller Alignment
- Place the straightedge across the top of the laminating rollers. Look for any gaps or unevenness between the straightedge and the rollers. If there are gaps, it means the rollers are not aligned properly.
- Use the wrenches to loosen the bolts that hold the rollers in place. Be careful not to remove the bolts completely, just loosen them enough to allow for adjustment.
Step 3: Adjust Horizontal Position
- If the rollers are not horizontally aligned, you'll need to move them left or right. Use a small pry bar or a similar tool to gently nudge the rollers into the correct position.
- Check the alignment again with the straightedge. Keep adjusting until the rollers are perfectly horizontal.
- Once you're satisfied with the horizontal alignment, tighten the bolts securely.
Step 4: Adjust Vertical Position
- The vertical position of the rollers is just as important as the horizontal position. Use the feeler gauge to measure the gap between the top and bottom rollers.
- Most laminators have adjustment screws or knobs that allow you to change the vertical position of the rollers. Turn these screws or knobs to increase or decrease the gap between the rollers.
- The ideal gap will depend on the thickness of the materials you're laminating. As a general rule, the gap should be slightly smaller than the combined thickness of the materials.
- Keep checking the gap with the feeler gauge and making adjustments until you reach the desired setting.
Step 5: Test the Lamination
- After you've adjusted the roller position, it's time to test the laminator. Plug the machine back in and turn it on.
- Feed a small piece of test material through the laminator. Check the quality of the lamination. Look for any signs of uneven pressure, air bubbles, or misalignment.
- If the lamination is not satisfactory, go back and make further adjustments to the roller position. It might take a few tries to get it just right.
Common Problems and Solutions
Problem 1: Uneven Lamination
- This is usually caused by uneven pressure distribution between the rollers. Check the roller alignment and the gap between the rollers. Make sure the rollers are parallel and the gap is consistent across the entire width of the rollers.
- If the problem persists, it could be due to a worn or damaged roller. In this case, you might need to replace the roller.
Problem 2: Air Bubbles
- Air bubbles can occur if there is too much air trapped between the layers during the laminating process. Check the roller pressure and the speed at which you're feeding the materials through the laminator.
- You can also try using a lower viscosity adhesive or pre - heating the materials slightly to reduce the formation of air bubbles.
Problem 3: Misaligned Layers
- Misaligned layers are often the result of improper roller alignment. Make sure the rollers are both horizontally and vertically aligned. You can also check the feeding mechanism to ensure that the materials are being fed into the laminator straight.
Other Types of Flute Laminators
If you're looking for more advanced options, we also offer Intelligent Automatic Flute Laminator, Fully Automatic Servo Flute Laminating Machine, and Automatic Flute Laminator Machine. These machines offer higher levels of automation and precision, which can significantly improve your production efficiency and quality.
Conclusion
Adjusting the position of the laminating rollers in a semi automatic flute laminator is a skill that takes a bit of practice, but it's well worth the effort. By following the steps outlined in this guide, you can ensure that your laminator is operating at its best, producing high - quality laminations every time.
If you're interested in purchasing a Semi Automatic Flute Laminator or any of our other products, feel free to reach out to us for more information and to discuss your specific needs. We're here to help you find the perfect solution for your business.
References
- "Flute Laminating Machine Operation Manual"
- Industry - specific technical journals on packaging machinery.